Old photographs passed down through generations are such a valuable resource in your research, but extracting the information you need can be a real challenge when there are no dates or names given. Never fear, though, there are details you can look for to narrow down those dates. This blog will outline what clues you can look for to put a date on your old photographs!
Where to start
Faced with photographs with no date can leave you not knowing what to start with, so here are 6 key steps to help you along!
Digitize and restore the photograph if needed. This can help bring out details that might have been hidden for years.
Determine the photograph’s source. Ask yourself, where did the photo come from? Who had it before you? How did the photo come to be in your possession? Answering these questions can help you narrow down which family line to start searching.
Determine the type of photograph you are examining. What is the format of the photo? How is it housed? More details on this are below.
Research the photographer if possible. If the photograph has a photographer’s name or studio on it, often on the reverse, research where and when it operated. This can narrow down the location and time period of a photograph.
Examine the clothing and hairstyles. There are many books and free resources online about the history of fashion which can help you date a photograph based on the styles of the photograph’s subjects.
Explore your family tree for potential identities for the people in the photo. Bear in mind the possibility that not everyone in the image is an ancestor. They could be friends, neighbours, or similar – but they can still be useful! We should gather information on these people the same way as we do for our ancestors, because if these people were close to your family, then they may help with your research.
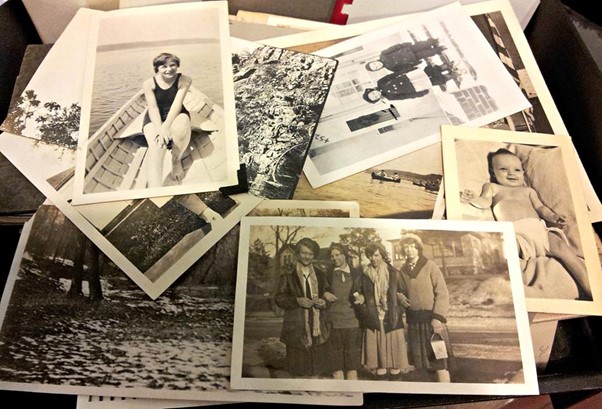
When working with multiple photographs, start by placing the photos on a table and where possible, group the photos into family groupings. To determine which photo belongs to which family, look at the following details:
Find similar physical characteristics.
What props are being used? Are the same ones appearing in multiple photographs? This could indicate the photos were taken at the same studio.
Is there distinctive jewelry being worn that can place the photo in the correct family group?
Are the photos the same type and age? If you have photos from different time periods, you may be looking at more than one generation of a family.
Once they are organised, you can examine the photos using the steps above.
More top tips:
Below are some more tips and information on how to date those tricky photographs. This is a brief outline of what to look for but I have included other resources with more detail for you to do some further research. There is just too much for one blog post!
Look at the format of the photographs
Different types of formats rose and fell in popularity throughout the 19th and 20th centuries, so identifying the format can help you narrow down the date. Look at how the image is surrounded and housed.
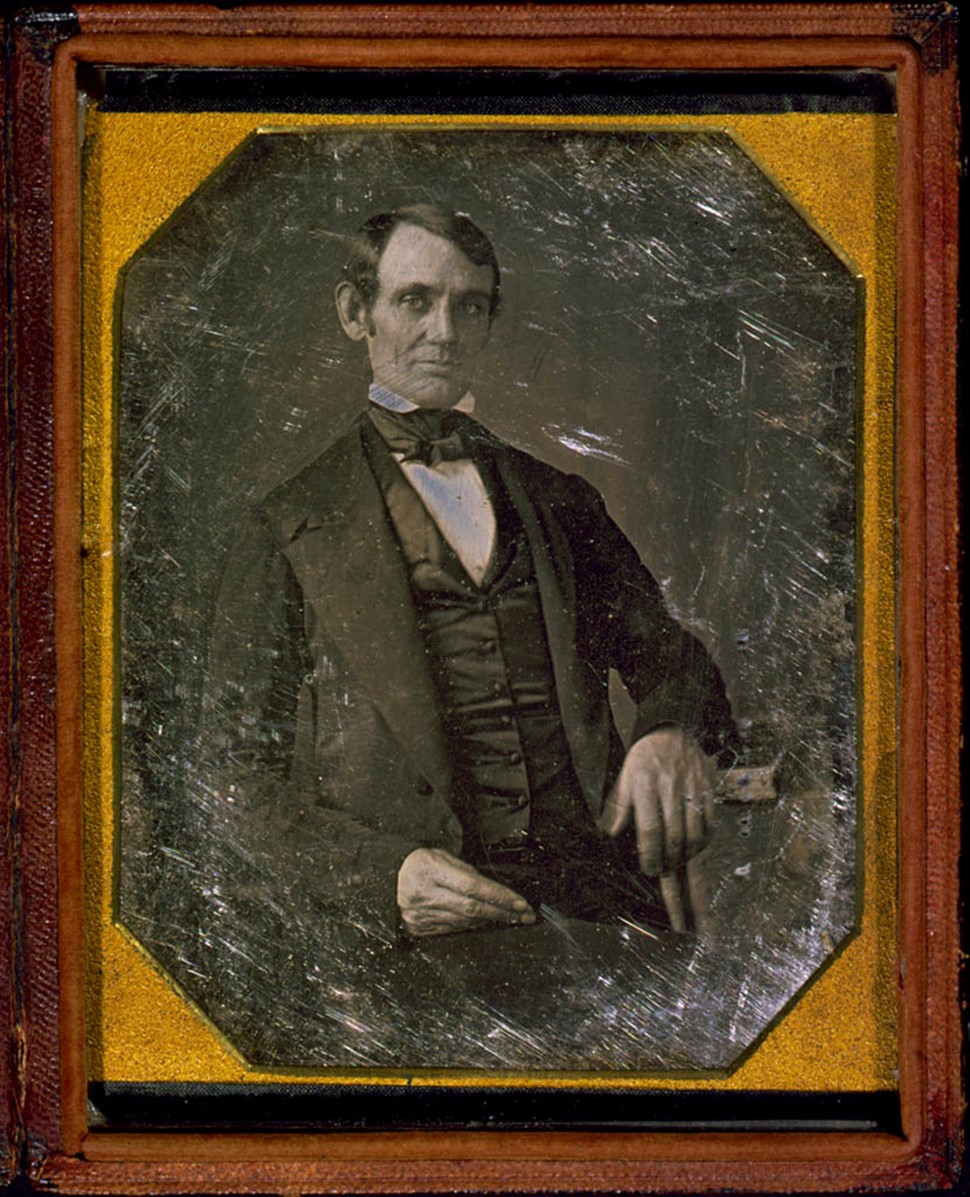
- If it is in a protective case, this may suggest it is a daguerreotype or ambrotype, so was probably taken before the 1880s.
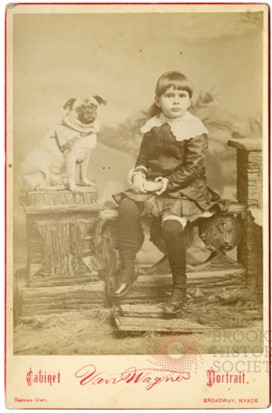
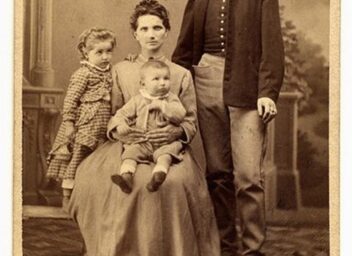
- If it is mounted on a thick card, it could be carte de visite or cabinet card which date from between the 1850s and 1914.
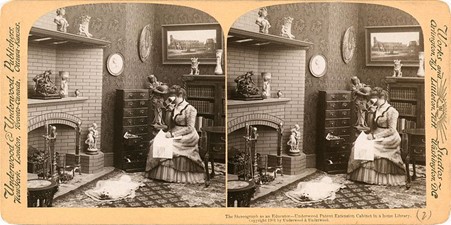
- If there is a pair of photos mounted next to each other on a card, then it is probably a stereoscopic photograph dated between the 1860s – 1930s.
- If it looks more like a postcard, it’s more likely to have been taken after 1900.
Check the support of the photographs
Throughout history, a great variety of materials have been used to print or lay the image of a photograph on.
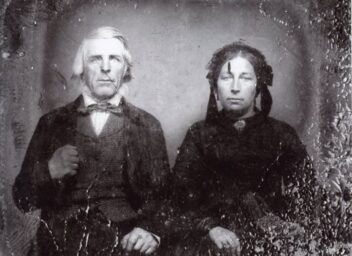
- Daguerreotypes were common between 1839 – 1860s. They are printed on a silver-plated copper support and have a distinct, highly reflective mirror-like surface.
- Tintypes, made on a thin tin sheet, were introduced much later, in 1856, and were common up until the 1920s.
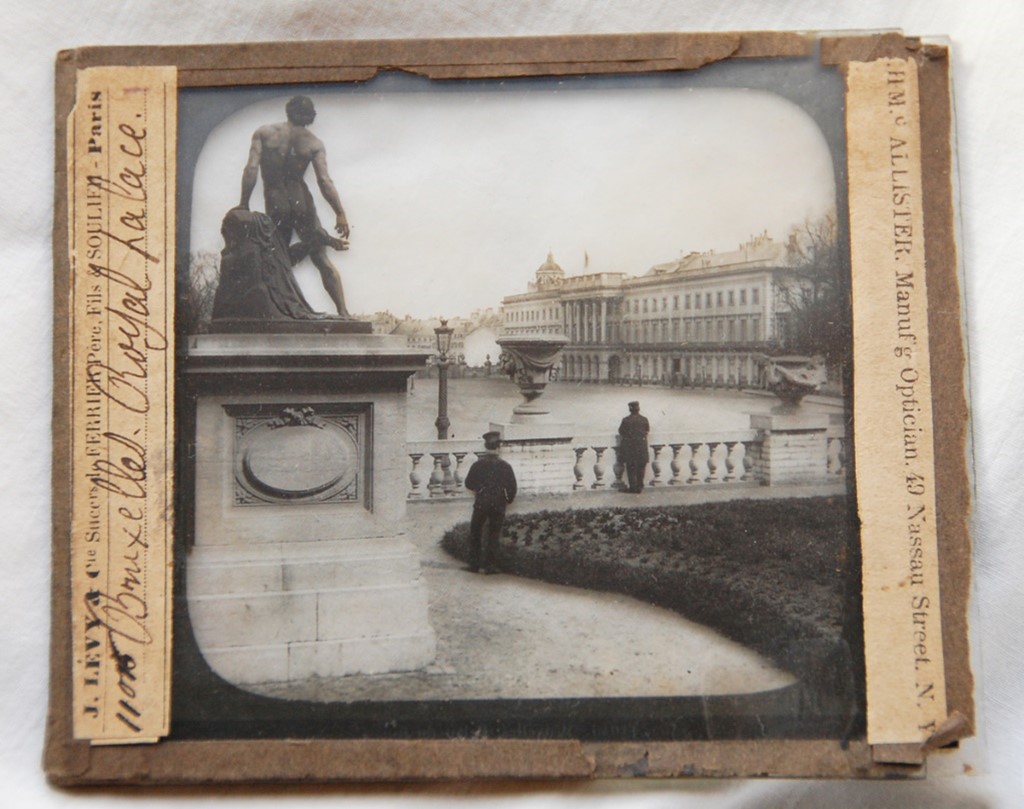
- Glass lantern slides were introduced as early as the 1850s and were used through to the middle of the 20th century.
- Ambrotypes were common from 1854 until the 1860s. The glass support gives a 3D appearance to the image, but it isn’t highly reflective.
- Early negatives were also made on glass between 1880s and 1925.
- Paper is the most common material used to print the image of a photograph on, and has been used throughout the history of medium, from 1839 until today.
- Plastic has been used mainly for negatives since the late 19th century.
- Colour slides were introduced in the 1930s and are commonly found in family photographs.
Visit this ‘Love to Know’ blog post for more information. If this doesn’t have what you are looking for, there are loads more resources online.
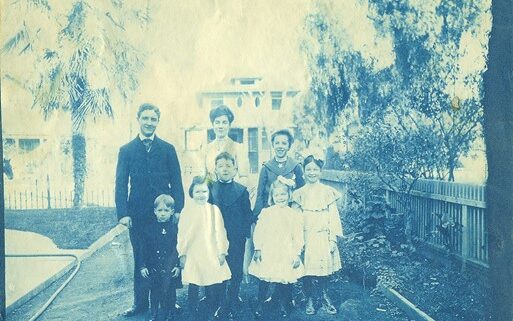
Observe the colour tone of the photographs
Although colour tone can be a misleading tool with which to date photographs, it can be helpful if combined with other tips, especially for photos on paper support.
In general, warm tone images can be dated from the 1860s until the 1910s. Neutral black and white image tones are more commonly encountered on photos from the late 1890s until today. Cyanotypes can be distinguished by their deep blue colour and are commonly dated from 1842 until the 1950s.
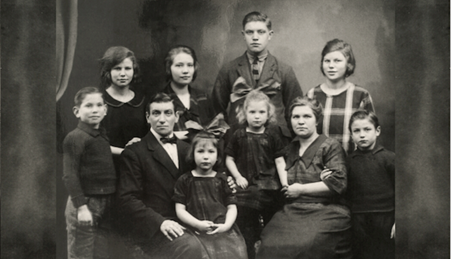
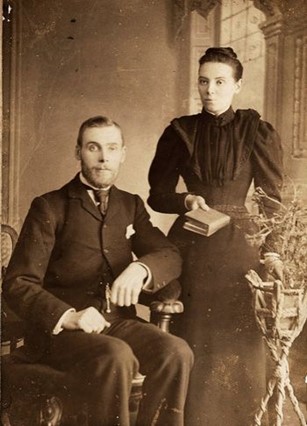
Analyse the fashion and hairstyles
If the photograph depicts people, look at what they are wearing, as fashion can be a useful indicator of when it was taken. Women’s fashion developed faster than men’s and younger women tended to be more likely to wear more contemporary styles. Also consider hairstyle – look at the parting, fringe, and accessories.
Visit this Jayne Shrimpton’s blog for more information.
Figure 11: 1890s fashion
Check for written clues
It may seem obvious, but don’t forget to check the photograph carefully for any written marks which might point towards its age. These could be things like the photographer’s studio name, or any handwritten notes on the back of the photograph such as names, events, or locations.
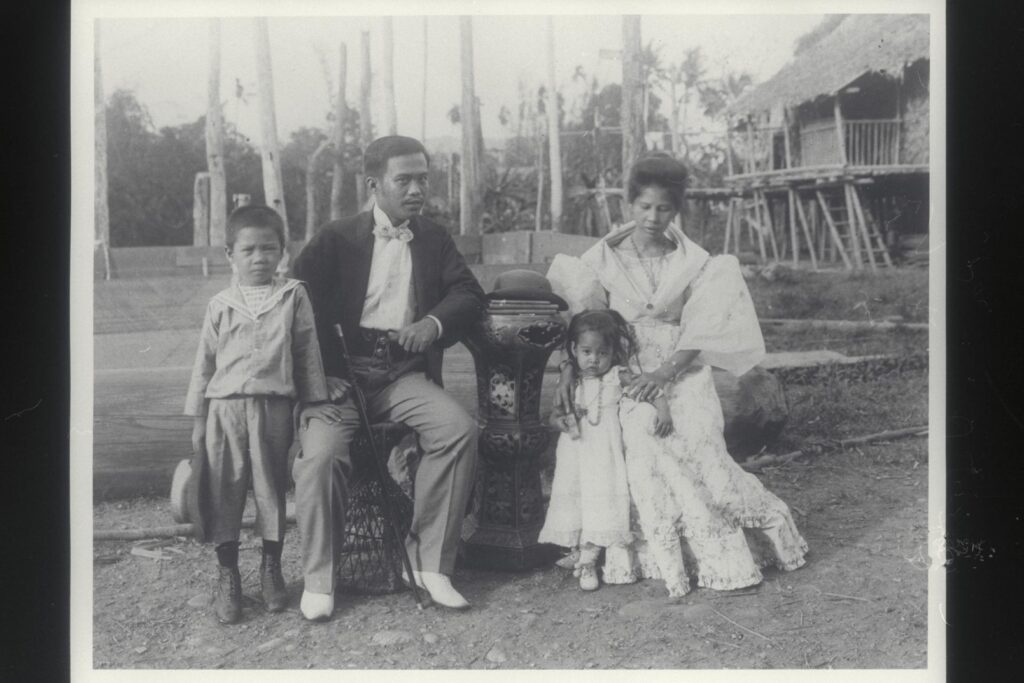
Look at the background and other objects
Can you tell what town or village the photograph was taken in? See if you can identify buildings which you know were either built or demolished at particular times to narrow down a date. You can also look at the design of vehicles and number plates which may indicate a time period. Advertisements on shop fronts are also useful as you can ascertain when a product was launched and discontinued.
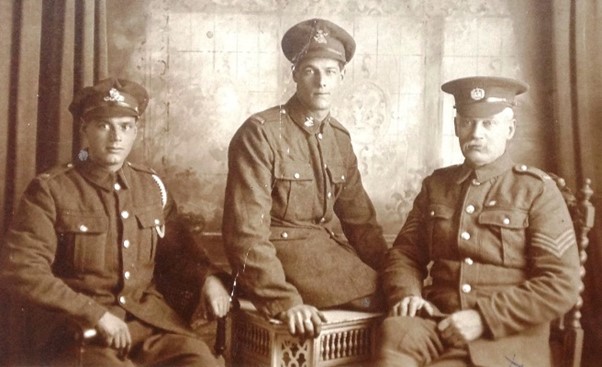
Consider uniforms and medals
The presence of a uniform can make the process of dating photographs easier, especially for photos taken in the 20th century as uniforms became more standardised. If the photo is clear enough, look for medals as this may help you narrow down the time frame.
Visit this ‘Find my Past’ blog for more detail.
Don’t forget to ask
If you have any living family members with a possible connection to the photograph, ask for their input. Ask if they recognise faces, fashions, or locations in the photo.
Conclusion
In order to get a clear image of when a photograph was taken, it’s likely you’ll need to carefully consider many of the points suggested throughout this blog. While you may never reach a definitive date, piecing together clues will enable you to make a pretty good guess. It might take perseverance and further research, but I’m sure it will be worth it!
I’m going to leave you with one thing to think about. Where are all YOUR photographs? We spend so much time searching for and identifying our ancestors’ photographs, we rarely think about our own for future generations. Yes, we have plenty of photos on our smartphone but how long does it take you to find the good ones through the rest. Consider putting them in a shared online photo album with labels. Your descendants will thank you!
Need some help deciphering the photographs or making the most of the results for furthering your family tree? Get in touch today and see how we can help!